

Building an e-commerce application has no “Why” anymore. It has “how”.
Today in this article, I will walk you through how to build a Grocery Application using Two very interesting developer tools Webflow and DhiWise.
The grocery application is a part of an e-commerce marketplace and contains buying and selling goods and groceries online.
As online shopping and payments have snowballed, It helps local stores to have their marketplace online for their daily customer as a helping hand in their routine.
Many reports have stated that it costs $2000 to $18000 to build such a demanding application.
But with the No-code tool Webflow and a pro-code tool DhiWise, by our side, it can be built in around 40 HOURS, because both these platforms are Free to use, and provides a large Feature basket.
Let’s dig deeper into the “how” part.
Webflow
Webflow is a popular no-code Software-as-a-Service, that provides an online visual editor platform that allows users to design, build, and launch websites. As most websites interact with users and live data, for that Webflow provides its in-built CMS where you can store data in collections, and they provide REST APIs to access those collections.
Webflow CMS: Webflow provides its super customizable CMS, which you can use to store and retrieve collections of items, which we will be using as our application’s data store.
DhiWise
DhiWise is a pro-code platform, specially built for developers to build web and mobile apps within the comfort of a developer-first environment without the hassle of repetitive coding. It predominantly supports front-end tech stack React for the web and Flutter for mobile along with other technologies like Node.js, iOS, Android, and Laravel.
DhiWise Flutter Builder: DhiWise Flutter Builder converts your Figma into Flutter Code along with Integrations of Authentication, Navigations, API Integrations and Firebase and Supabase Integrations.
Steps
Step 1: Import Figma Design
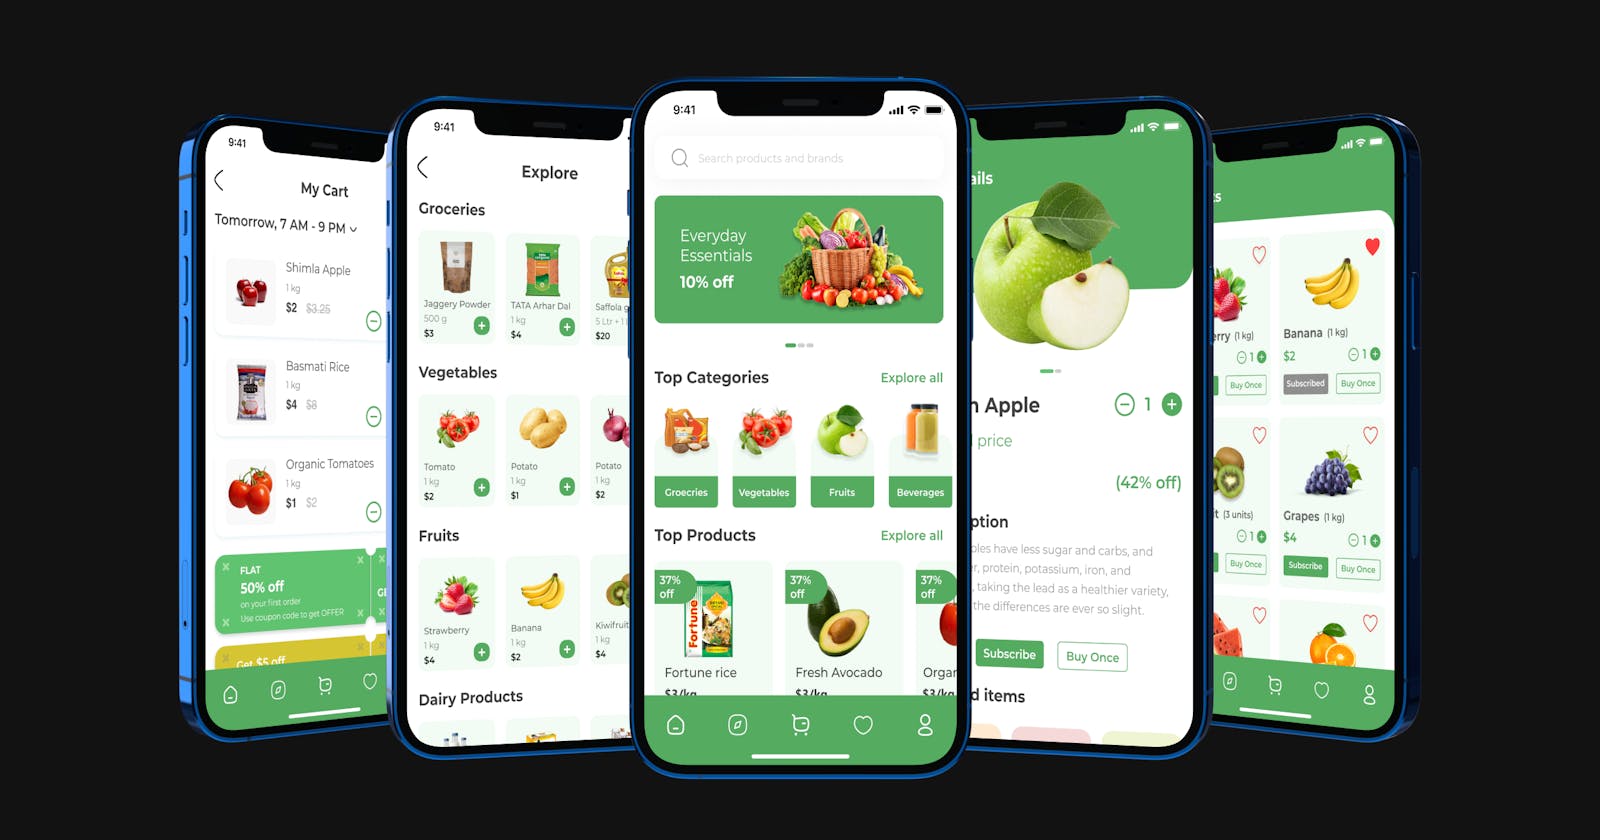
Here is my Figma Design
Let’s Convert Our Screens into Flutter Code to get started within a minute.
As you can see in the attached video, I have created a Flutter Application and imported Figma, Selected the necessary screens. In a few minutes screens are ready to be configured further.
Step 2: Setup Authentication
I wanted to add Email SignUp and SignIn, along with Social Authentication with Facebook and Google. Surprisingly, DhiWise has all these three with Firebase in the backend, So I integrated it quickly, and by quick I mean just in 2 minutes.
Step 3: API Integration
As I have used Webflow CMS, Here is the Reference Link to Webflow’s CMS APIs Doc: developers.webflow.com
In the below image, you can see the List of collections of my Webflow Application. You can learn how to create a project and CMS collections From Webflow University.

Also, Webflow provides a whole Section on E-commerce by giving Sample Collections and separate APIs. With which you add those collections with Predefined schemas and sample data as well.
I created my own collections according to my requirements.
Here I am attaching a video, in which you can see how you can integrate an API for the “on ready” lifecycle method on Home screen. You can also integrate APIs on Onclick as well on Success on any other integration.
Check this Doc for the in-detail process.
Step 4: Changes after downloading the Code.
I integrated two APIs on Details Screen, One was for Fetching Details of Products and Another one was Similar Products, So I integrated them into the screen downloaded the code and As I checked the code, it was readable and easy to customize as it was modular and following clean code architecture.
So After downloading the code, I quickly added a filter in the API function and my Screen was ready.
By DhiWise on the Side…
After I imported the Design into DhiWise, the Code was component Driven. Commonly used widgets were created separately in files and used — basically code reusability.
Also, Widgets like sliders, page indicators, checkboxes, listview, and grid were identified accurately. (You can see the Figma, how complex the design is.)
With DhiWise’s Design to Code Algorithm 2.0, back navigations on all the screens where the back button is were added automatically.
Validations on Inputs like Email, password, PhoneNumbers were added automatically right after the design was imported.
Now, you can imagine how much time you can save by avoiding this boring and mundane task.
Summary
By using a pro-code tool DhiWise, and maximizing its capabilities by using Webflow’s REST APIs, all of the features except the payment were ready without wasting a time in following the ancient methodology to develop an app.
Here’s the link to the Git Repository for the complete application review: GitHub