


Source: DhiWise
Do you want to speed up your React.js application development? Precisely by automatically converting your design into React components!
If yes, DhiWise web app builder is here to save precious time, which you can otherwise use to develop critical application features. The mentioned web app builder can quickly generate production-ready code from your Figma design. And what’s important is that it follows the ethos of visual programming to the letter.
In this article, we will learn how DhiWise can help you get a production-ready front-end application, along with features like Page navigation and API integrations.
Before that, let’s start with a brief introduction to Figma and React.
Figma 🖌️
Figma is a popular web-based vector graphics editor and prototyping tool. It comes with additional functionalities supported by desktop applications for macOS and Windows.
It allows mobile users to view Figma prototypes in real-time using Figma mirror companion apps — for both Android and iOS. Also, it enables designers and developers to create UI and wireframing for web and mobile apps.
React.js ⚛️
React is a free and open-source front-end JavaScript library for building user interfaces based on UI components. It is maintained by Meta and a community of individual developers and companies.
React is used to build single-page applications. It allows us to create reusable UI components.
For Getting above 80 % design accuracy in your Code, Follow These Design Guidelines while designing your Figma.
Let’s Dive deeper into it…🚀️
Step 1: Sign in to DhiWise
First thing first, Sign into DhiWise using your Google or GitHub account.
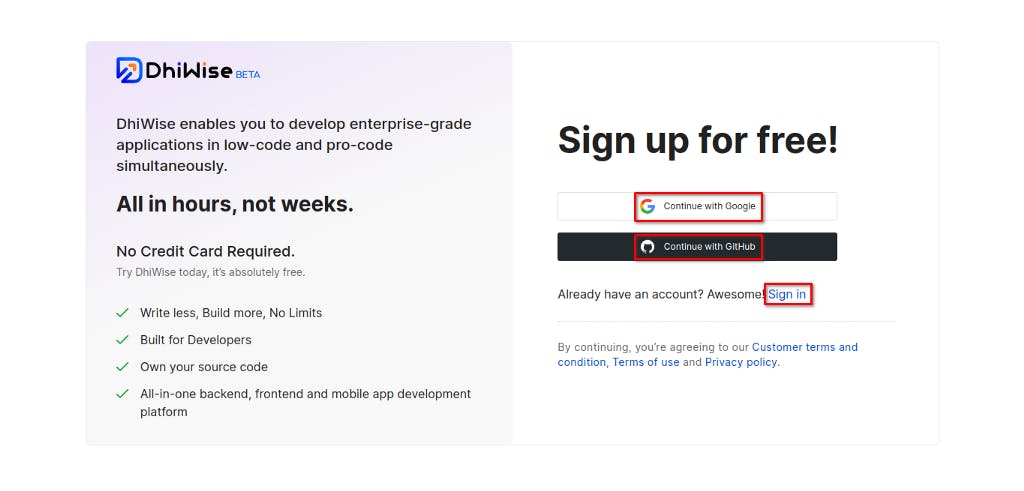
Signup to DhiWise
Step 2: Create a new application
Once sign-up is done, you will be directed to the Dashboard. You can search and view the previously created apps if any. You will find apps divided into three categories: web, mobile, and backend. You can either create an app with Figma URL or if you don’t have a design, check out templates and screens by selecting the second and third options.
In this tutorial, we will go with Figma URL. For that, select “Create a new app”.
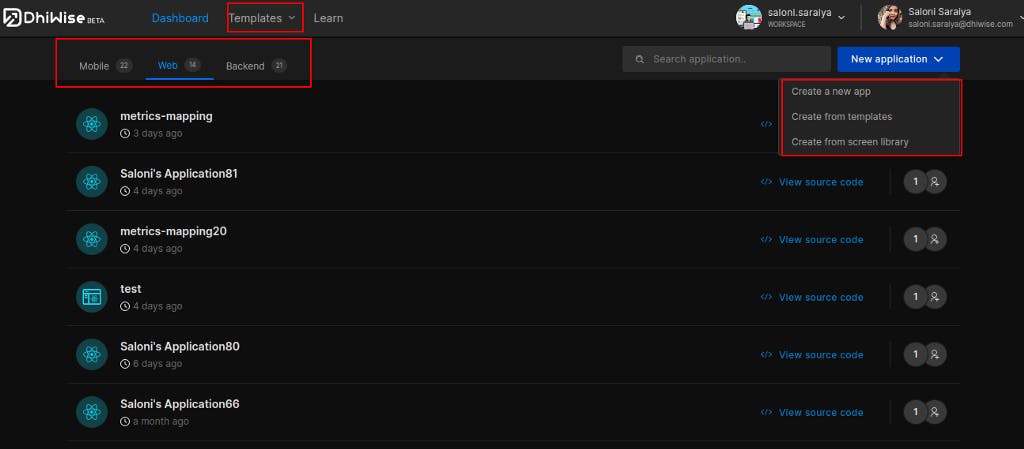
Create an app
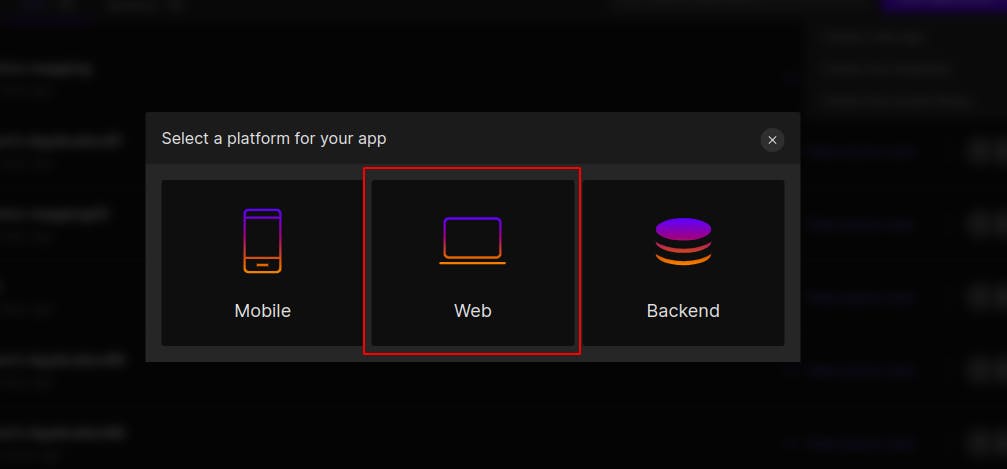
You will be prompted to choose between backend, web, and mobile. We will choose web.
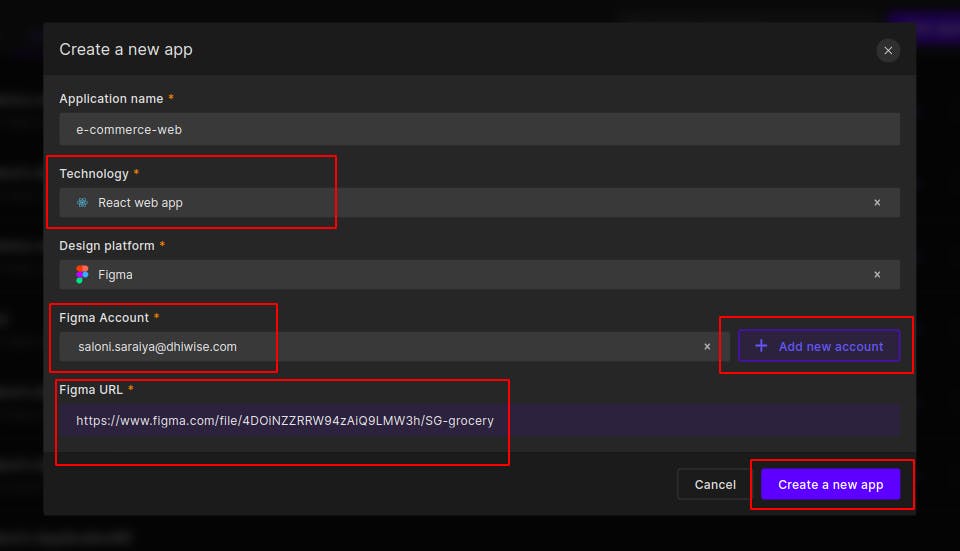
Step 3: Add app name, select tech, and add Figma URL.
Add the meaningful app name, and select React web app. Add your Figma design URL, and click “Create new app”.
app details
FYI: You must link your DhiWise account to your Figma account. You can add different accounts to access your Figma designs, and if you put a private or inaccessible Figma URL with the account you have chosen, an error will be displayed.
Step 4: Select the screens you’d like to sync to your application
From your Figma design, you may choose the screens and pages you want for your application.
Additionally, If you have already set up the prototype in your Figma, half of your work is almost done. For prototypes, DhiWise fetches screen resources automatically and you don’t need to deal with the screen navigation again. The code for it will be added.
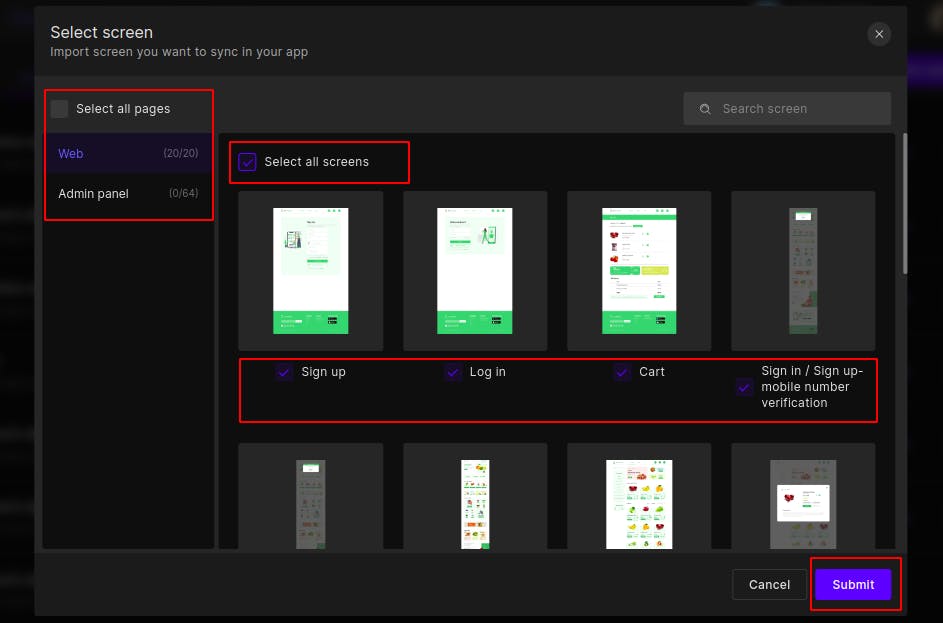
select screens
As soon as you click submit, in a few minutes, DhiWise will convert your UI design into React code.
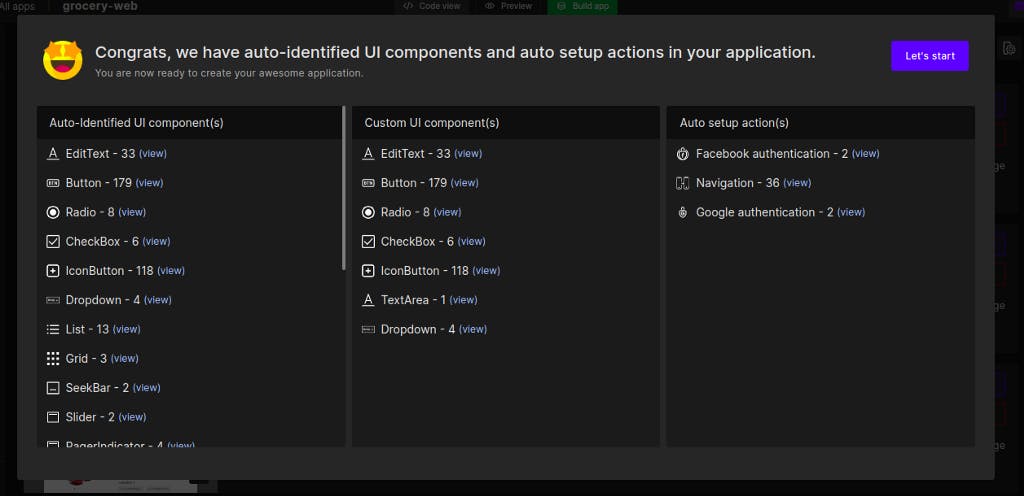
app components
As shown in the screenshot above, DhiWise algorithm has intelligently added authentication, and page navigation, after identifying all components of your screens.
Step 5: Screen Configurations
Next, you can set up a home page, and screen name, view the screen summary, and configure actions such as lifecycle methods and API integrations along with request validations.
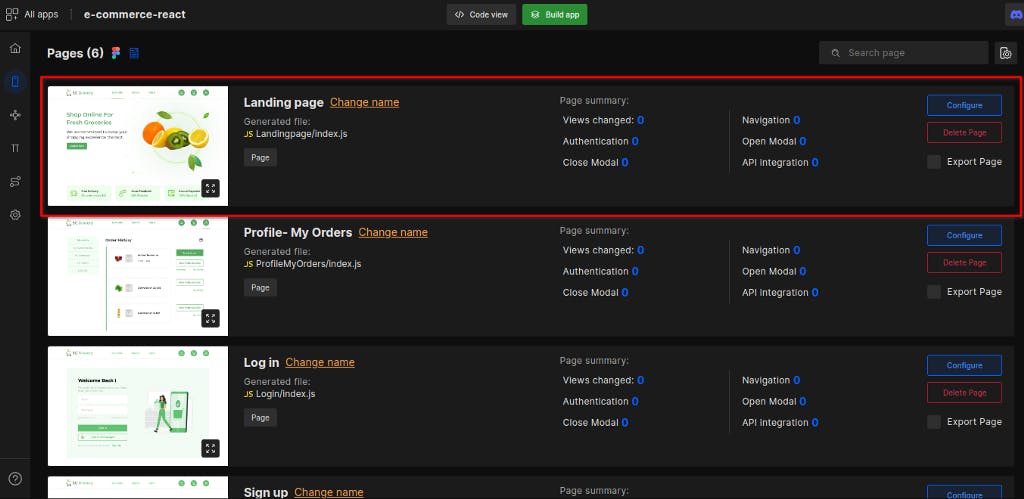
Additionally, you can apply actions starting from social authentication to page navigations, Open modal, and API Integration. Yes, You can bind real-time data from REST APIs to your pages.
Learn More about All the features In Details: React web app Builder
After the customization, click on ‘Build’ to get the structured source code with all the customizations in a few minutes.
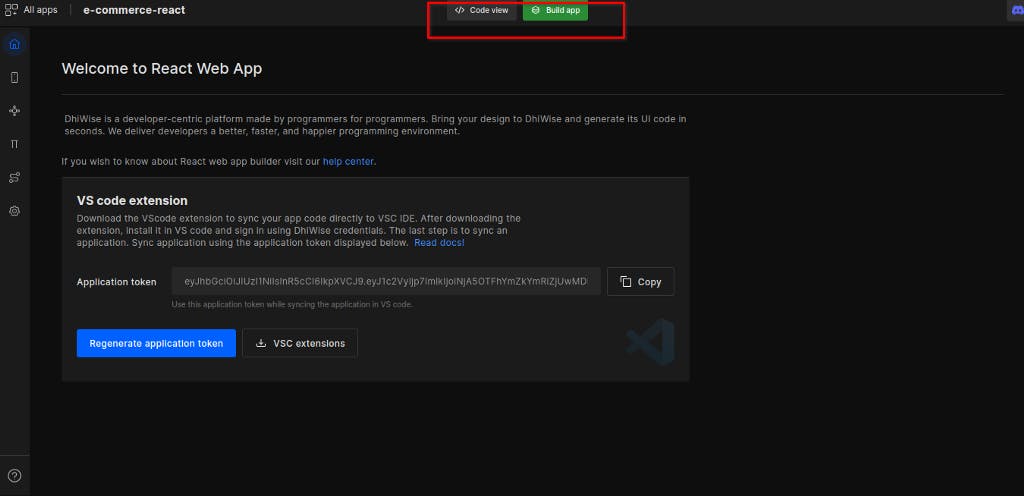
Build app and view code
Once your App is built, you can download the entire source code from the DhiWise and/or sync it with your GitHub or GitLab Repository.
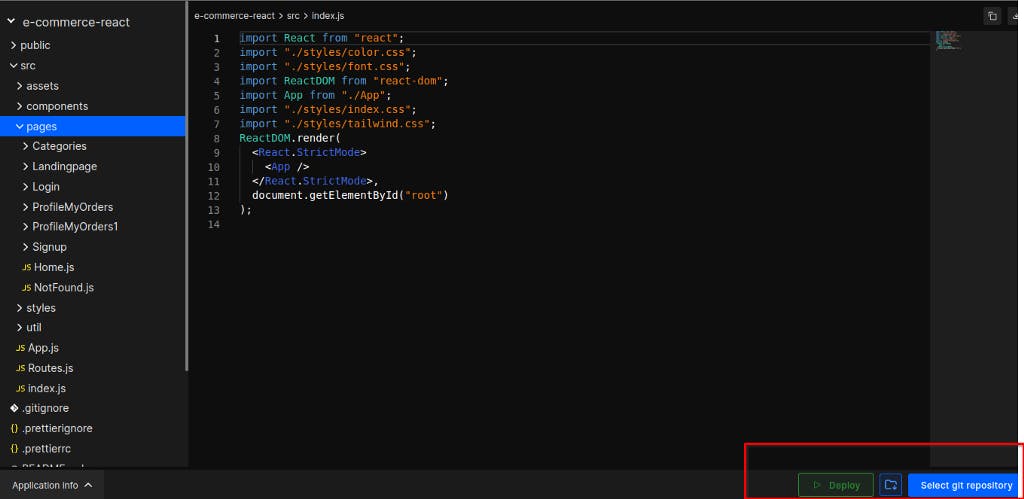
If you make more changes in DhiWise application and you want updated code in your application, you can use VSCode Extension to get the latest code directly into your VSCode.
Additional Things
There are two awesome features from DhiWise to make the development life more exciting — all while using DhiWise.
- You can see and share a preview of your app in different screen sizes to check the responsiveness straight from DhiWise.
- Now you can see and share a prototype of your app by deploying the application to Vercel in a single click!
- Secondly, You can use Figma to Code plugin in Figma to get the code in minutes.
In a Nutshell…
These are just a few steps to transform Figma design into React code, along with the additional features mentioned above.
Here is the YouTube playlist for the visual representation of this blog: https://www.youtube.com/playlist?list=PLMJ0858-zE7SHkj3vFE5OH2Nc-QxIxzAn
If you are new to Figma, form here you can learn it easily: https://www.youtube.com/playlist?list=PLMJ0858-zE7S7DXtSufSR1xrCxGZMeH8h
SignUp Now! (It is free😉️)
Here are all the resource links the DhiWise provides to help you get started easily with its app builders.

How to Convert Your Figma Design into React Code: Step by Step Guide ⚛️ was originally published in DhiWise on Medium, where people are continuing the conversation by highlighting and responding to this story.